


About a year ago I ran this rosette tutorial on my blog, it was a pretty popular post, so ... I thought I would bring it back one more time to share with you here for "Voila!"


Supplies you'll need:
A silk flower of your choice{I like roses and peonies for this project}
Rubber stamps in a French theme
ink pad {I use waterproof ink}
a center piece, a crystal, a piece of jewelry ~ anything pretty that you can "wire"
florist wire
pin back
wire cutters
scissors
miscellaneous material, lace, scraps
Glue gun and glue
a little imagination ...

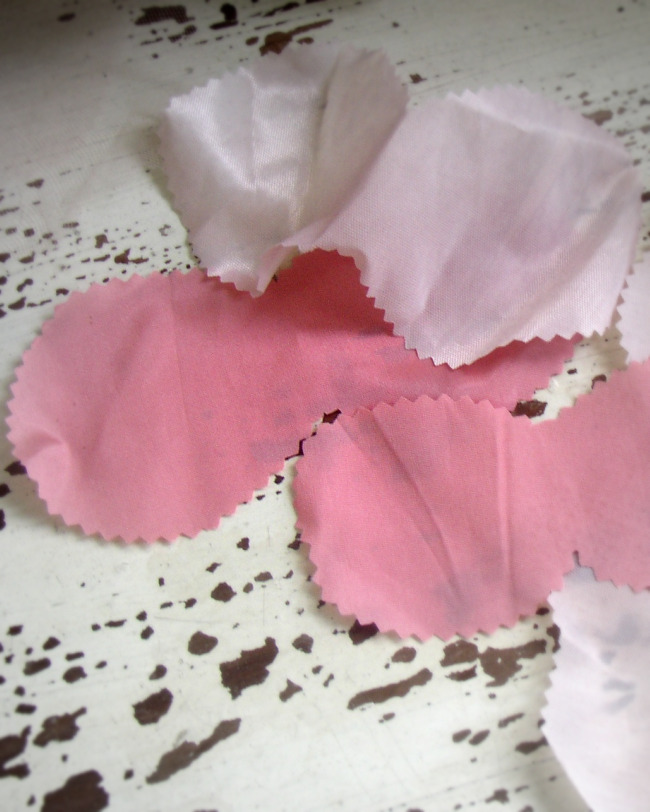
Let's get started by pulling apart your silk flower ...

Discard plastic stems

lay out your petals on something you don't mind messing up with the ink
and
start stamping, covering as much or little as you want ... going off the edges gives a nice realistic touch
{it's okay to go outside the lines here!}

Finish all your petals
and
gather your other scraps you want to incorporate into your rosette

I like to fold the material in half, cut out petals, open and make a small hole in the middle. Don't worry too much about size here ... just make sure your cut petals are big enough, you'll want to come back and trim them to your liking once your flower is assembled.

Wire your center with the florist wire, bringing both ends together to form a "stick"
you will gather your various petals along the wire.

Remember, you're working "backwards" in size ... small petals go on first working up to larger ones.
I usually do a "layout" of petals before I start to wire them ... this way I can change them to my liking without pulling everyone off the wire.

Once you have them all on and you're happy with the look ...
pull everything tightly together

and start bending your wire back and forth to secure your petals

wrap as many times as you wish, cut off extra wire

hot glue your pin back on
{oh, be careful NOT to glue your pin shut ... trust me, it happens!}

Take a scrap of material, cut to fit over ugly glue and glue into place for a finished look.

and lastly, my favorite part ... trim your petals to the shape and size you like
and then
start squishing and crumpling and rubbing between your hands

this will fray your raw edges giving your rosette a time-worn look
Fluff it all back out and viola! You've created a Parisian rosette!
Not too shabby, huh?
I hope you didn't mind today's "re-run" and hope you have some time to make rosettes ... would love to see what you come up with ... would also love to see your French inspiration below, link on up and join in!!
xo
Jill {Gypsy Brocante}


